DIY Idea
A Wedding Keepsake Box — Three Letters and a Photo Timeline
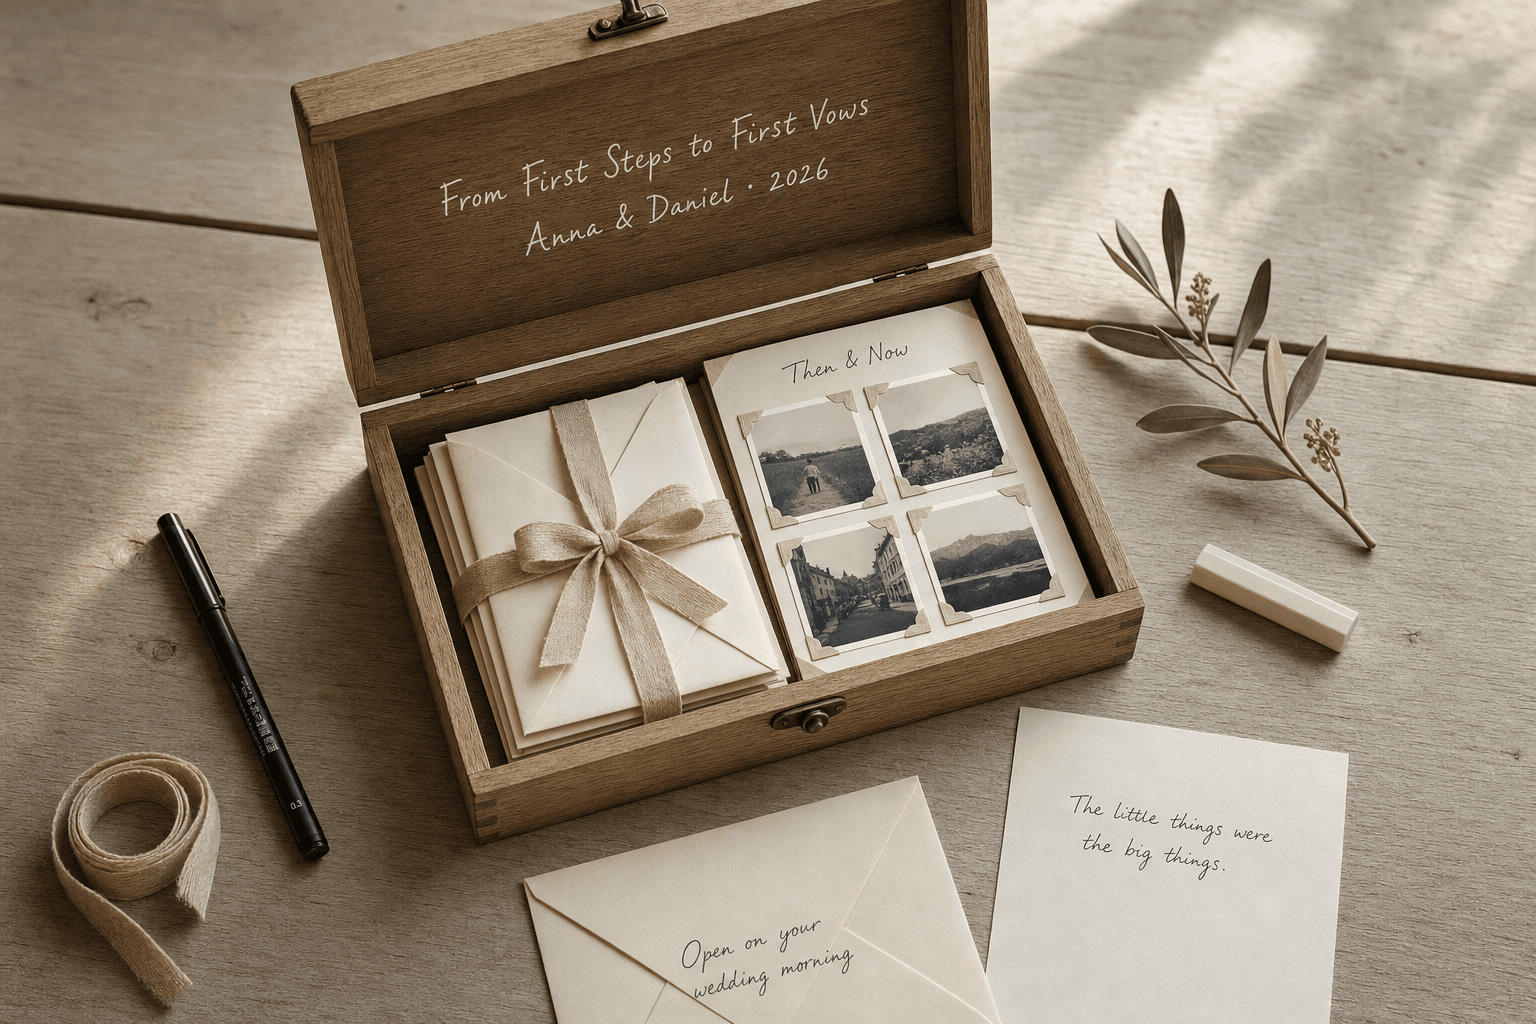
A finished wooden box, hand-titled on the lid, holding three letters (one sealed for the wedding morning) and a photo timeline from childhood to engagement. Built by a parent, sibling, or close family member. Two evenings of work, plus drying time for the finish.
Materials
- Plain wooden box with hinged lid (around 10 x 8 x 4 in outside, and at least 9¼ x 7¼ in inside so the timeline card lies flat)
- Water-based wood stain or acrylic paint, clear matte water-based polyurethane to seal it, a foam brush and 220-grit sandpaper
- Paint pen or vinyl letter stickers (gold, silver, or white) for the lid title, and a pencil
- Three A2 envelopes and acid-free cardstock (4 sheets, 8.5 x 11: two for the letters, one for the timeline, one for the two labelled cards)
- Six printed photos, 3 x 3 in, and 24 acid-free photo corners
- Ribbon (¼ in, ~2 yards) and a fine-tip black ink pen
The box is the container. Your handwriting is the gift.
Instructions
- 01
Finish the box. Sand the surfaces, wipe clean, then stain or paint in thin coats. Two coats of the clear matte sealer on top. Let it dry and cure for as long as its label says before you title the lid or put anything inside.
- 02
Title the lid. In paint pen or vinyl letters: From First Steps to First Vows — then below it, their name, their partner's name, the engagement year. Sketch placement in pencil first; trace and let dry.
- 03
Write the three letters. On a half sheet of cardstock folded in two (it fits an A2 envelope), one per envelope: Engagement Season — Why I'm Proud of You, Wedding Morning — What I Want You to Remember (seal this one), and One Year From Now — How to Keep Choosing Each Other. Tie the bundle with ribbon.
- 04
Build the photo timeline. Trim one cardstock sheet to 7 × 9 in so it lies flat in the bottom of the box, and title it Then & Now. Six 3 × 3 in photos: a childhood moment, a teen milestone, graduation, first job, meeting their partner, the engagement. Four go on the front in two rows of two, the last two on the back. Photo corners only — no glue. Caption each in one line under its photo.
- 05
Fill the box and leave room. Timeline card flat on the bottom, letters bundle on top of it to one side, one meaningful family token (a recipe card, a childhood note, an heirloom). Add a labeled card: Add Your Wedding Items Here — vows copy, invite, boutonniere, place card. The box stays half-empty on purpose.
What to write inside
I built this for you both. Inside: three letters — one for the engagement, one sealed for your wedding morning, one for a year from now. A timeline of you from your first steps to this one. Add your own things as you go. On every anniversary, open it.
— [your name]
Sign however you would — With love, With pride, All my best, or just your name.
Pro Tips
- Seal the wedding-morning letter and write Open on your wedding morning across the front. It becomes a time-capsule message — not another card they skim.
- Test the stain on the underside first. Wipe it off after 30–60 seconds for a lighter, modern tone that won't clash with whatever their wedding aesthetic turns out to be.
- Give it during the engagement period, not at the wedding. They need the box BEFORE the day so they can fill it as the days happen — invitation, save-the-date, day-of photos, vows.
- Build in one blank page for the future: a labeled card inside that says First Anniversary Add-On. Turns it into a yearly tradition, not a one-time gift.